Mastering Sound Mixing: The Secret Behind Studio-Quality Audio
Hey there! Today, I want to share something that completely changed the way I produce music, podcasts, and videos — Sound Mixing.
When I first started recording, I thought capturing good audio was enough. But I quickly realized that recording is just the first half of the job. The real magic happens during mixing — it’s where raw sounds become polished masterpieces.
🎧 What is Sound Mixing?
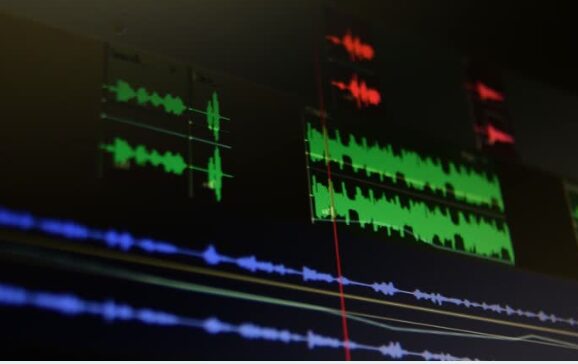
Sound mixing is the process of blending individual audio tracks — vocals, instruments, effects, background sound — into a single, balanced final piece.
Think of it like cooking: you can have the best ingredients (your recordings), but the real flavor comes from knowing how much salt, spice, and sweetness to mix. That’s exactly what sound mixing is for your audio.
🧠 Why Sound Mixing Matters
No matter how great your recording is, if the instruments overpower the vocals, or if background effects drown out the main audio, your audience will struggle to enjoy your work.
A good mix:
-
Highlights the most important parts (vocals, lead instrument, narration).
-
Creates a clear sense of space and depth.
-
Keeps your audience locked in from start to finish.
🧰 Tools I Use for Mixing
Whether you're making music, editing podcasts, or working on YouTube videos, these tools can help:
-
Audacity (free — great for beginners).
-
FL Studio, Ableton, Logic Pro X (for music production).
-
Adobe Audition, Reaper (for both music and voice editing).
-
Pro Tools (industry standard).
🎯 My Basic Mixing Workflow
-
Organize Your Tracks
Label vocals, instruments, effects, and background audio so you don’t get lost. -
Balance Volume
Adjust the fader on each track to make sure nothing is too loud or too soft. -
Pan for Stereo Space
Spread sounds left and right so they don’t all clash in the center. -
EQ (Equalization)
Carve out space for each element. For example, lower the bass on a guitar if it’s clashing with the kick drum. -
Compression
Smooth out volume spikes so no part feels jarring or too soft. -
Add Reverb & Effects
Give your sound depth. Reverb makes audio feel more "alive" and less dry. -
Mastering Prep
Once you’re happy with your mix, it's ready for the final step: mastering.
💡 Pro Tip
If you’re working on a video, always mix your audio separately before placing it on your timeline. A properly mixed soundtrack can make amateur video look and feel professional.
🎬 Final Thoughts
Mixing is both an art and a science. The more you practice, the better your ears will become at picking out small details — and those details are what separate "just okay" projects from truly professional productions.
I’ll be sharing real-time mixing sessions in future videos to help you follow along. Whether you're mixing music, podcasts, or voiceovers, mastering this skill will upgrade your entire creative workflow.
💡 Suggested Video Title:
👉 "Sound Mixing for Beginners — How to Make Your Audio Sound Professional"
